

Related news
Custom Abutment Design Workflow: What Dental Labs Should Check From Scanbody to Final Approval
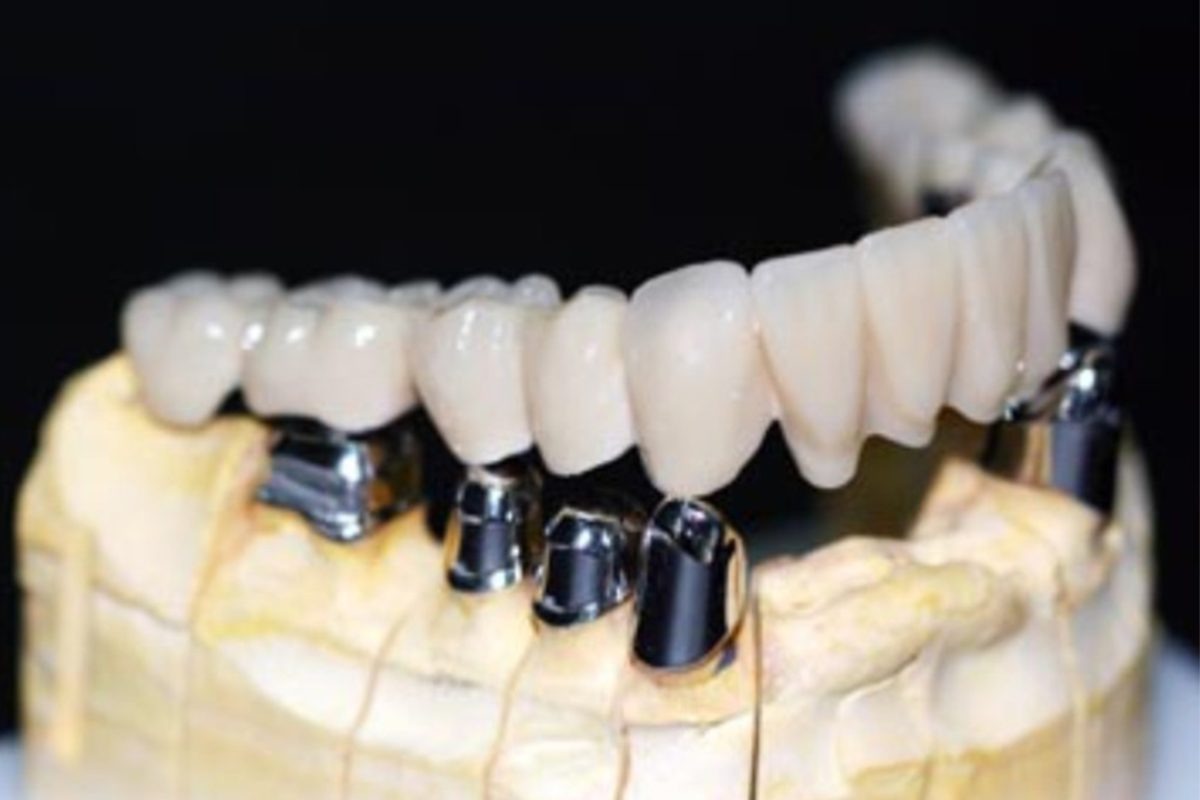
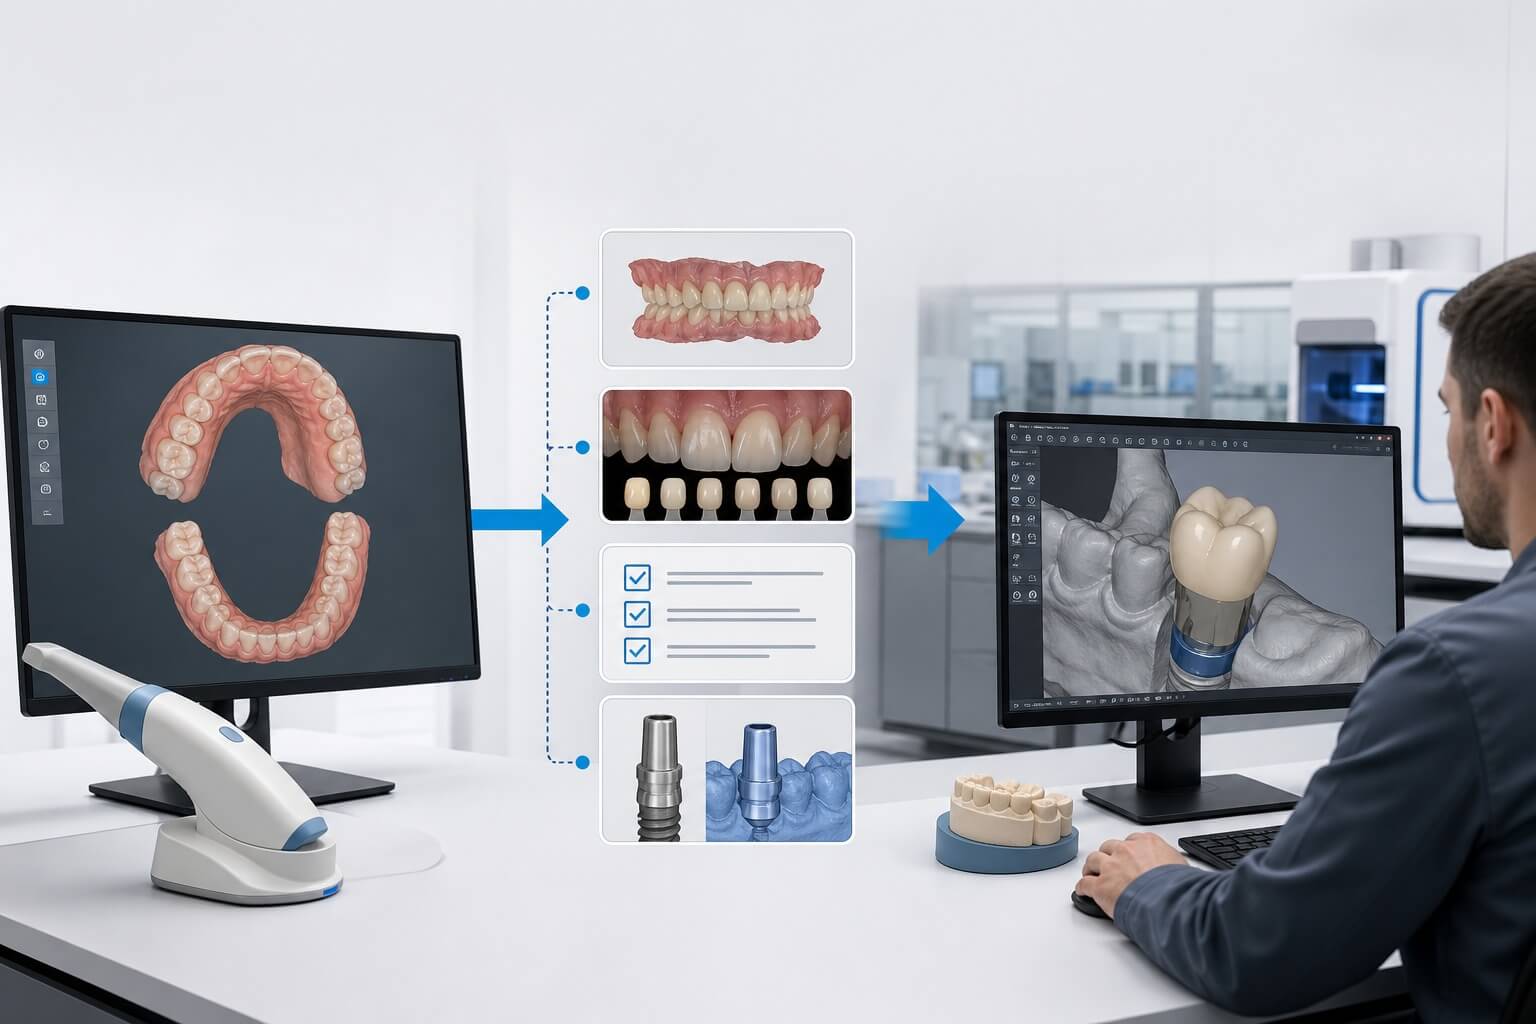
A custom abutment may look like a single component in the final case, but the design depends on a chain of decisions made much earlier. Implant-system identification, scanbody records, tissue information, restorative space, screw-channel position, and the planned crown all influence whether the design can move forward without avoidable questions.
For an overseas dental laboratory, the challenge is often not the CAD command itself. It is controlling the information that moves between the prescribing clinician, the laboratory, the designer, and the production team. When those inputs are incomplete or interpreted differently, the case may return for clarification, sit in a queue, or require another approval cycle.
This guide explains a practical custom abutment design workflow for dental labs, from scanbody data to final approval. It focuses on what the laboratory should define, what the design team should verify, and where a short written note can prevent a long email thread later.
What Records Are Needed Before Custom Abutment Design Starts?
The most efficient starting point is a case package that answers the questions the designer would otherwise need to send back. The exact records vary by case and implant system, but the laboratory should make the following information explicit before design begins.
Implant system, connection, and component library
Do not rely on a scanbody shape alone to communicate the implant platform. State the implant manufacturer, system, connection, platform or diameter, and the intended restorative component. If the laboratory requires a particular library, Ti-base, blank, screw, or milling strategy, identify it in the prescription or case note.
A library mismatch can affect the interface and the downstream component selection. When any identifier is uncertain, the safe workflow is to pause and confirm it with the laboratory instead of choosing the closest-looking option. The laboratory and prescribing clinician remain responsible for approving the component choice.
Scanbody and scan data
The scan should clearly capture the scanbody and the surrounding reference anatomy. Confirm that the scanbody is fully seated, that its indexing features are readable, and that the file does not contain holes, stitching errors, or clipped surfaces near the implant site. Include the opposing arch and a usable bite record when they are needed for the planned restoration.
A note such as ‘use scanbody library X’ is useful only when the scan and the requested library agree. If the scanbody position appears inconsistent with the case prescription, flag the conflict before the designer builds the final geometry around it.
Tissue contour, restorative space, and prescription
The design team needs enough soft-tissue information to understand the intended emergence. The prescription should also explain the restoration type, material plan, cement- or screw-retained preference, margin expectations, and any space limitation that changes the design strategy. For an anterior case, the laboratory may also provide a diagnostic design, provisional reference, or approved tooth setup.
Which Design Decisions Should the Laboratory Define?
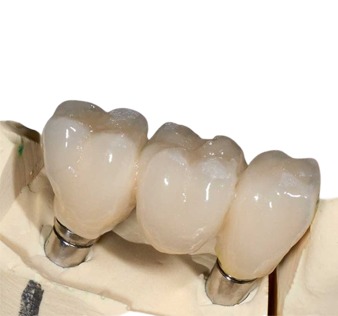
A designer can create geometry only after the laboratory defines the clinical and production intent. Written preferences are especially important when the case has limited tissue height, a difficult implant angle, or a narrow restorative envelope.
Emergence profile and tissue support
The emergence profile connects the implant interface to the planned crown contour. It should be reviewed as part of the whole restoration rather than as an isolated abutment shape. This relationship is especially important across implant restorations. The laboratory should indicate whether the design should follow an approved provisional or diagnostic contour and identify areas where tissue pressure or cleanability requires special attention.
Designers should avoid guessing the desired tissue support from a partial scan. When the record does not show enough information, a clarification request is more useful than a polished design built on an unsupported assumption.
Screw-channel position and restoration type
The implant angle may place the screw channel near an incisal edge, cusp, or visible facial surface. The team should assess channel position early because it can influence whether a screw-retained plan remains practical or whether another restorative approach needs laboratory and clinician review. Any angled screw-channel solution must also match the selected system and production components.
Material, minimum space, and crown relationship
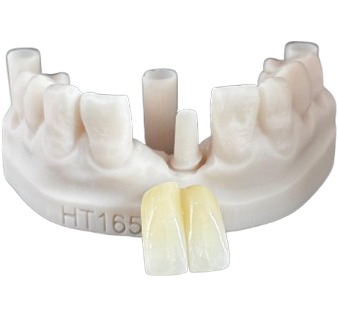
The abutment and crown should be evaluated together. The available restorative space affects wall thickness, retention form, crown contour, and the amount of room available for the planned material. Production limits depend on the selected component and manufacturing route, so the laboratory should supply its validated parameters instead of expecting the designer to apply a universal number.
How Should a Custom Abutment Design Be Reviewed Before Approval?
A useful review is systematic. Looking only at a facial screenshot can hide problems at the interface, below the margin, or on the opposing side. A repeatable review sequence helps both the in-house technician and the outsourcing partner discuss the same design features.
1. Confirm the case identity and interface
- Match the case ID, tooth position, implant system, platform, and selected library.
- Confirm that the abutment seats on the intended interface without visible collision or unintended gaps in the CAD review.
- Check the insertion path and the relationship between the abutment, adjacent teeth, and planned restoration.
2. Review margin and emergence from multiple views
- Inspect the margin circumferentially, not only from the facial view.
- Compare the emergence contour with the scan, provisional, or laboratory-approved reference.
- Identify areas that need a customer-specific change rather than relying on an undocumented default.
3. Check restorative clearance and crown support
- Review available space for the planned crown material and manufacturing route.
- Check support, retention form, screw-channel access, and the relationship to the opposing dentition.
- Confirm that contacts and occlusion are assessed on the restoration design when those elements are included in the outsourced scope.
4. Record the approval
Approval should identify the reviewed version. Screenshots or a 3D viewer link can support communication, but the case ID, version number, requested changes, and final approval status should also be recorded in text. This prevents an older file from entering production after a later revision has been accepted.
What Usually Causes Delays or Revisions?
Most design delays are not caused by a complex command in the software. They come from missing inputs or from different teams using different assumptions. Common examples include:
- The implant system is named, but the platform or component library is not.
- The scanbody is incomplete, poorly captured, or inconsistent with the prescription.
- The laboratory requests a crown contour but does not provide the provisional or approved setup it wants followed.
- The desired margin depth, emergence preference, or retention strategy is left implicit.
- A revision is requested through an image without identifying the exact design version.
- The design is approved before the production material or component route has been confirmed.
For example, a laboratory may send an anterior implant case with a clear scanbody but no provisional reference. The designer can produce a technically complete file, yet the emergence and crown position may not match the clinician’s provisional contour. A short pre-design question about the reference shape can save a full redesign cycle. This is an illustrative workflow example, not a claim about a specific patient case.
Design-Only Outsourcing or Design-and-Manufacturing Support?
Dental labs can outsource CAD design only or connect design with manufacturing. The right model depends on internal capacity, equipment, validated materials, delivery requirements, and how much production control the laboratory wants to retain.
Design-only workflow
In a design-only workflow, the laboratory supplies the records and production parameters, reviews the proposal, and receives the approved design file for its own manufacturing route. This can help a lab absorb overflow while keeping milling, printing, finishing, and final QC in house. File format, software version, library, and production parameters should be agreed before the first case.
Connected design and production workflow
When design and production are connected, the same case package can move from approval into manufacturing with fewer handoffs. The laboratory should still confirm the component, material, shade or finishing requirements, delivery expectations, and acceptance criteria. A connected workflow does not remove the need for approval; it makes the approved file the controlled bridge between design and production.
How SDS Supports Dental Laboratories
SDS supports overseas dental laboratories with digital design and production services across fixed and implant restorations. The collaboration can be used for routine overflow, urgent backlogs, or technically demanding implant cases when an internal team needs additional capacity.
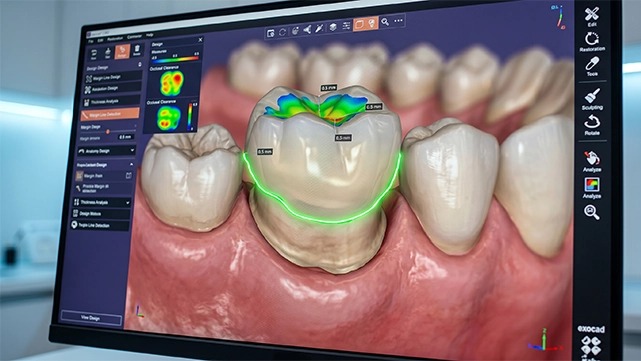
A practical onboarding process should begin with the laboratory’s software environment, preferred libraries, design rules, approval method, and production expectations. Early cases can then be used to align communication and document customer-specific preferences before volume increases. SDS works with digital dental workflows including 3Shape and exocad; exact compatibility and case scope should be confirmed for each program.
Conclusion
A reliable custom abutment workflow is built on controlled inputs and visible approvals. Before design starts, confirm the implant system, component library, scanbody data, tissue record, restorative plan, and production route. During review, examine the interface, emergence, margin, screw channel, restorative space, and version history as one connected system.
For laboratories considering outsourcing, the best first step is not sending the largest case. Start with a representative case, agree on the review checklist, and document the decisions that are specific to your lab. That creates a repeatable path from scanbody to approval and gives both teams a clearer basis for scaling future work.
FAQ:
What files are usually needed for custom abutment CAD design?
The case package commonly includes the implant scan with a clearly captured scanbody, opposing arch, bite record, prescription, implant-system and platform details, intended library or component, and any provisional or diagnostic reference relevant to the final contour. The exact list depends on the case and the agreed outsourcing scope.
Can a dental lab outsource only the abutment design?
Yes. A lab can outsource the CAD stage and manufacture internally, provided the file format, software version, library, production parameters, and approval responsibilities are agreed in advance.
Why is the scanbody library important?
The selected library connects the scanned reference to the intended implant interface and restorative component. A mismatch can affect component selection and downstream production, so uncertain identifiers should be confirmed rather than inferred.
Who should approve the emergence profile and screw-channel position?
The outsourcing designer can prepare and explain the proposal, but the dental laboratory and prescribing clinician should approve case-specific clinical and restorative decisions according to their responsibilities.
How can laboratories reduce revision cycles?
Use a standard intake checklist, provide customer-specific design rules, review the proposal from multiple views, and record changes against a clear version number. When an input is uncertain, resolve it before detailed design rather than after final approval.
Contact Us